|
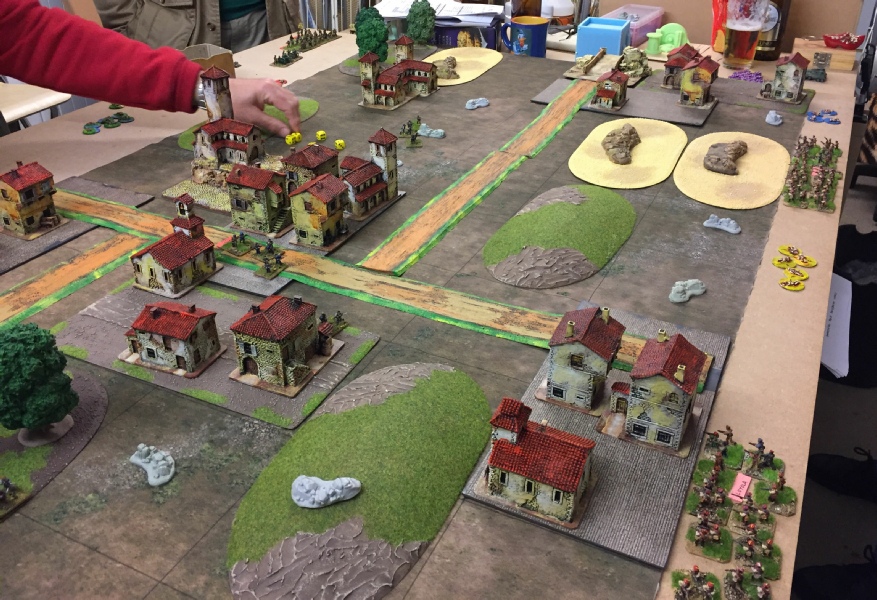
SCW playtest This page exists to give information on the forthcoming SCW rules from Peter Pig. This new set will be called "Bayonet and Ideology" (BI). It will replace the current set called BAIT. Players can still use their same companies, so there is no built in obsolescence. The new set should be out for September 2017. The pictures below were taken by Ben (thank you Ben)at a recent playtest in Bournemouth (June 2017) This game scenario had Carlists attacking Assault guard defenders. The defenders are on the left and attackers on the right. The attacking Carlists will deploy in a single row on their base edge. |
|
|
|
|
|
Before deployment the attacker has rolled to move the primary scenery pieces and now the defender is rolling to move partial scenery pieces. the table is 5 x 3 feet. Shared into 6" squares. the three objectives can be seen in this picture. In the distance is the bridge objective. In the far corner upper left is the presidio objective. The third objective is the tower by "the hand". |
|
|
|
The scenery consists of buildings, rough hills, dead ground(yellow bits is all I could find) , woods and roads. No gentle hills are present in this game. The roads allow easier travel through buildings for foot and vehicles. |
|
|
|
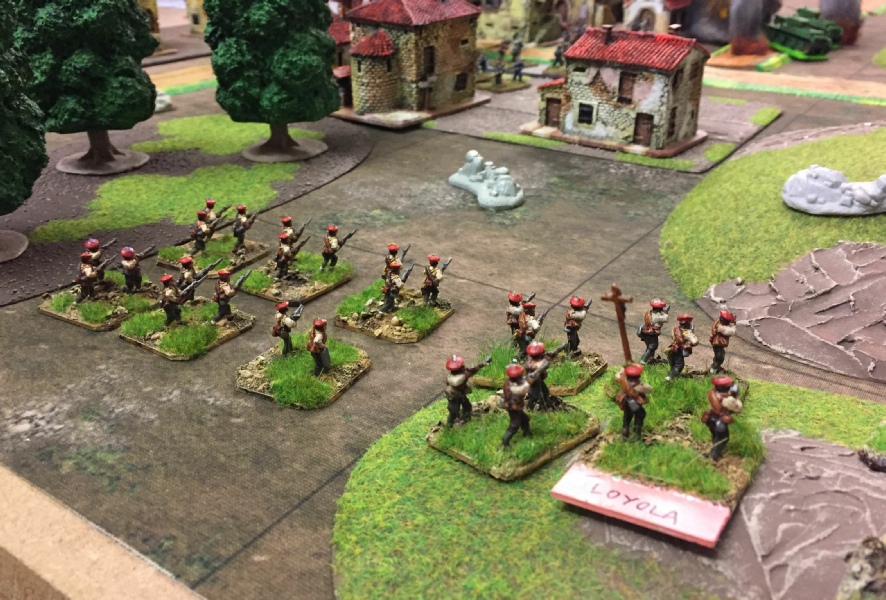
Carlist infantry move up their left flank to attack the buildings containing assault guard elements. |
|
|
|
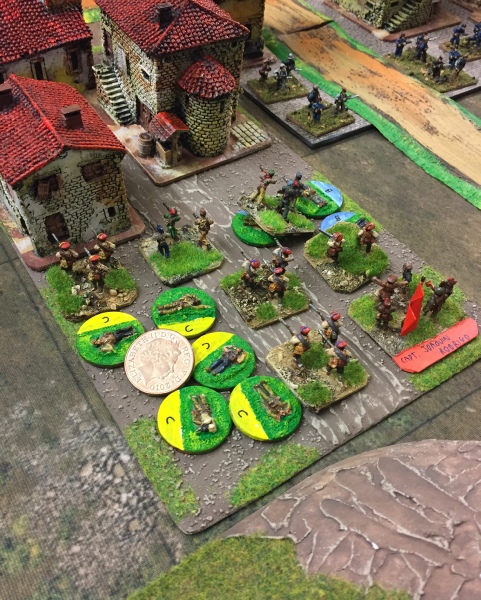
Each casualty marker replaces a dead foot base. The letter helps identify which platoon they belonged to. Casualties go toward the morale calculation for a unit. The large pile of letter C markers indicate a Carlist platoon that launched a suicidal assault on the town square earlier in that turn. The Carlist bases now in the square represent the second wave. The large named square base is the company commander. the blue B casualty bases are those suffered by the defending assault guards before they withdrew. |
|
|
|
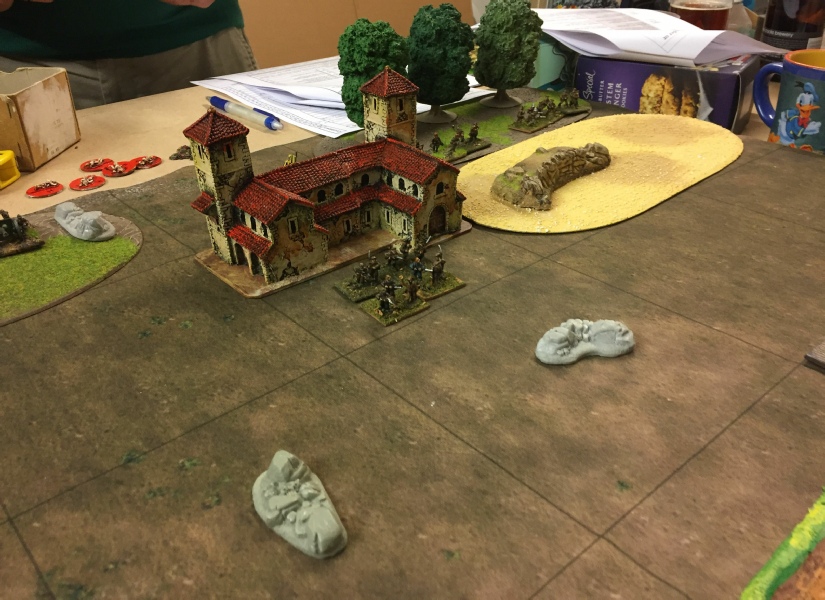
On the Carlist right flank . This is the Carlist view of the objective square (there were 3 objective squares). The Carlists did nor launch successful assaults against this objective because the open ground in front was not easy to cross. The grey things are rocky pieces from the PP scenery range. They mark partial cover. Finally the partial cover will be depicted by walls and scatter pieces. |
|
|
|
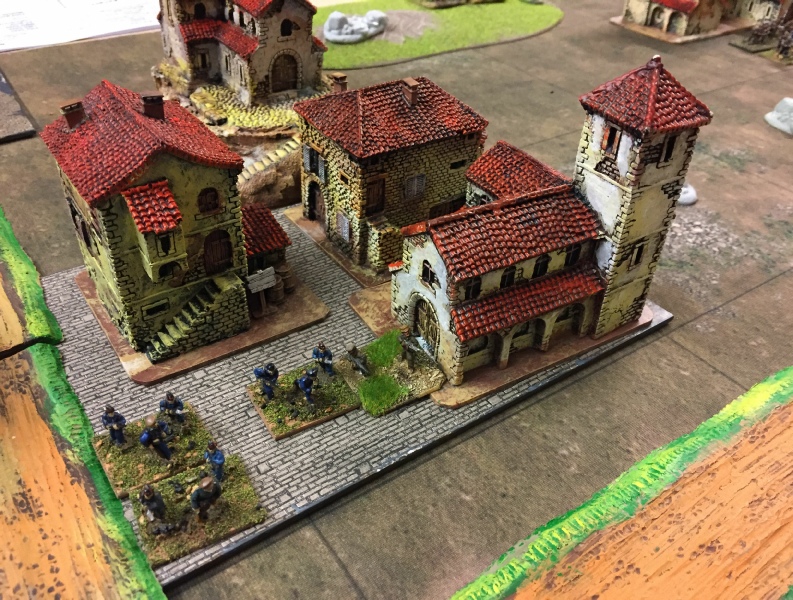
This is a central square in the Assault guard defence line. These bases are holding buildings in order to stop Carlist infantry from infiltrating the town. |
|
|
|
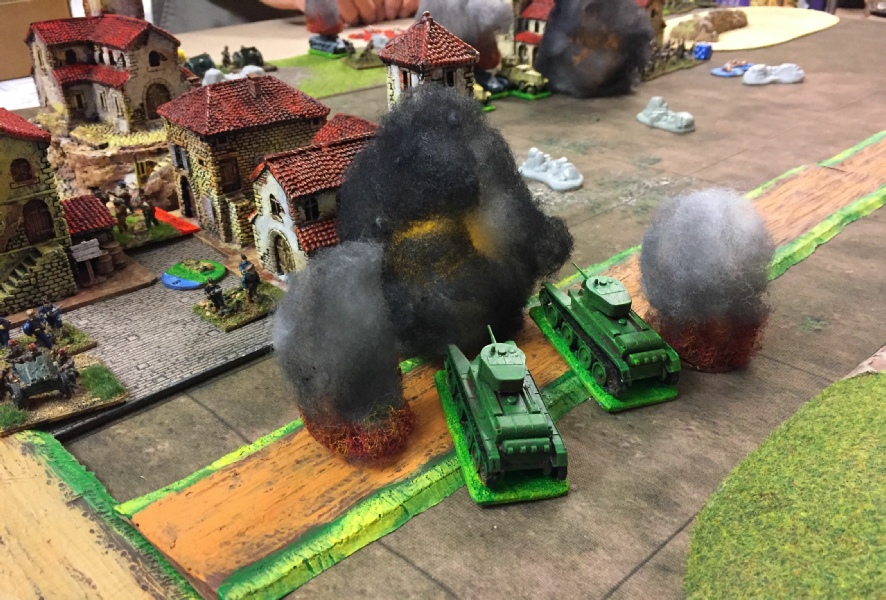
Carlist supporting medium tanks (BT5) advance upon the same central sector of the assault guard defence. The tanks will cause little damage to infantry in buildings. If the tanks move in to the buildings they are easy prey for infantry assaults. |
|
|
|
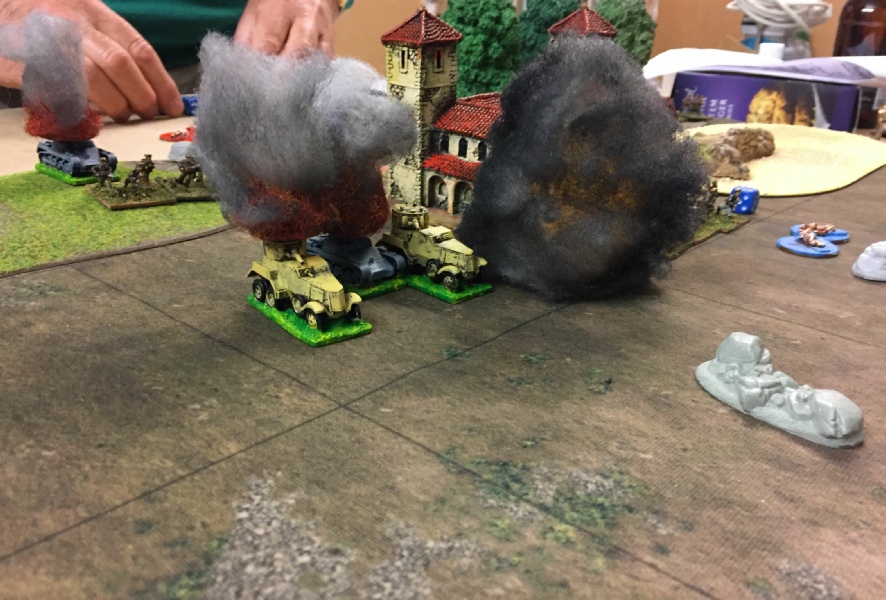
Two light tanks arrive part the way through the game in support of the assault guards. They both got destroyed by Carlist artillery. They rolled double 1s for saving! Vehicles in BI are categorised into light tanks, medium tanks, light armoured cars, medium armoured cars, field guns, AT guns and armoured trucks. The Pz1 usually appear on the nationalist side. Moving through the dead light tanks area pair of BA6 medium armoured cars . behind the armoured cars is the left hand assault guard objective. deploying in the open apart of the table allowed the Carlist artillery to pick them off. |
|
|
|
This is quite late in the game. A platoon of Carlist attackers has arrived on the assault guard flank due to a good arrival deviation roll. |
|
|
|
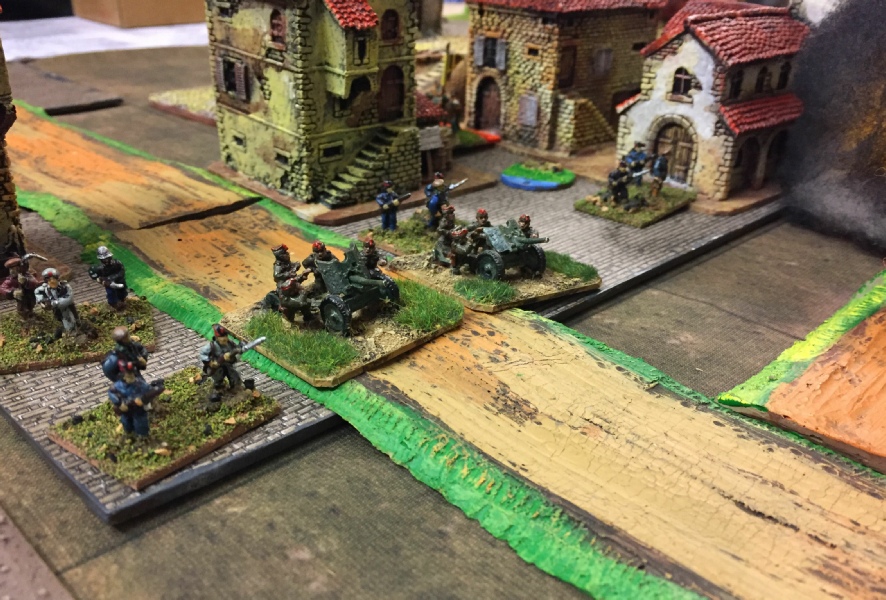
Left side of the assault guard defence line. AT guns have been deployed. |